How To Add Location To Vizitor ?

Ankur Rana
Tue, Oct 11, 2022
Read in 2 minutes
Adding a location to Vizitor is very simple. You can add as many locations you want to add but, that depends on the plan you have subscribed for. You can get a detailed understanding of how many locations are covered in each plan on our pricing page.
To set up a new location in Vizitor, follow these simple steps:
Step 1: Access Your Dashboard
Access your Vizitor dashboard: Log in to your Vizitor account using your credentials. If you don’t have an account yet, you can sign up for one.
Step 2: Open Settings
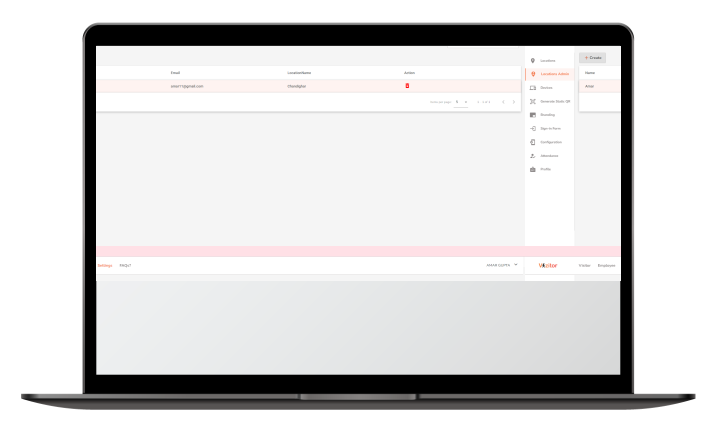
Click on the setting from the top panel on your Dashboard.
Step 3: Open the Locations Tab
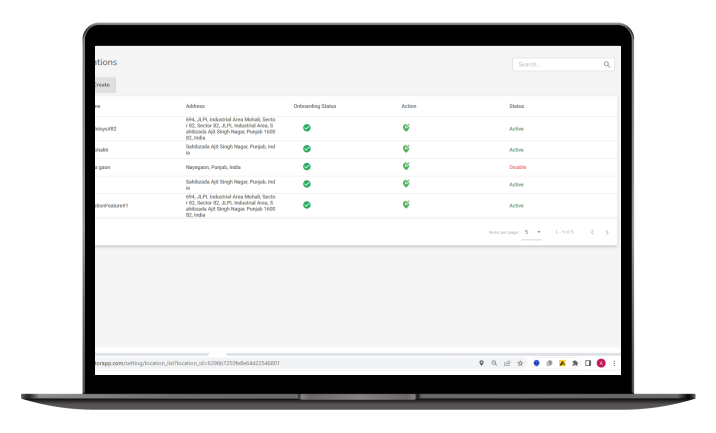
Click on Locations from the left menu on your Dashboard.
Step 4: Create a New Location
Click on the create location button from the right-top on your dashboard.
Step 5: Enter Location Details
Enter your location name, country name, and address for your new location.
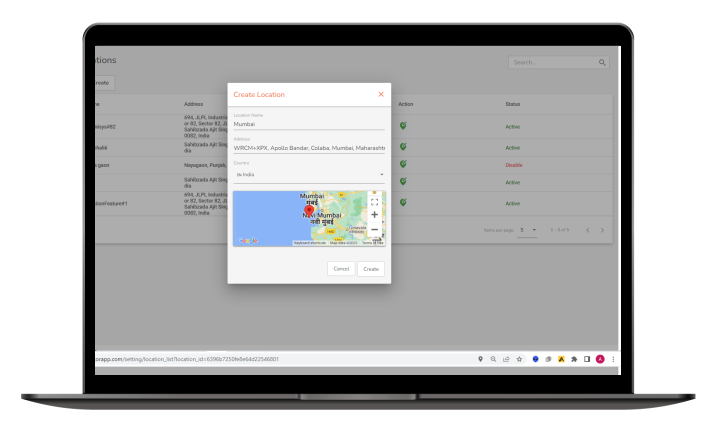
Save the Location: Once you’ve filled in the required details, click on the “Save” or “Create” button to save the new location in your Vizitor account.
By following these steps, you can easily set up a new location within your Vizitor account. This enables you to manage visitor data, customise settings, and ensure a smooth visitor experience specific to each location in your organisation.
And Now To generate a location admin in Vizitor, Here’s a guide on how to do it:
Step 6: Access Location Admin
To add a Location Admin, navigate to the “Location Admin” section in Vizitor and click on the “Create” button located above the list of existing admins.
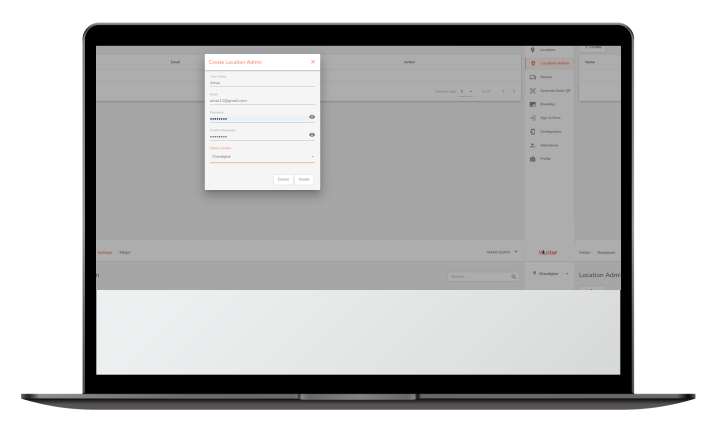
Step 7: Fill the Create Location Admin Form
In the “Create Location Admin” form, fill in the required details for the new admin. This typically includes their full name, email address, and contact number.
Step 8: Select the Location
From the dropdown menu in the “Create Location Admin” form, choose the specific location to which you want to assign administrative access.
Step 9: Create the Location Admin
After filling in the admin’s details and selecting the appropriate location, click on the “Create” button to finalise and create the location admin in Vizitor.