
How To Enable Photo Capturing ?

Ankur Rana
Sat, Oct 1, 2022
Read in 1 minutes
Having a digital visitor management system present at your front desk / reception is a blessing and having a photo capturing feature provides an extra layer of security to your organisation.
Step 1: Log In to Your Dashboard
Login to your Vizitor dashboard.
Step 2: Open Settings
Click on the settings tab from the top panel.
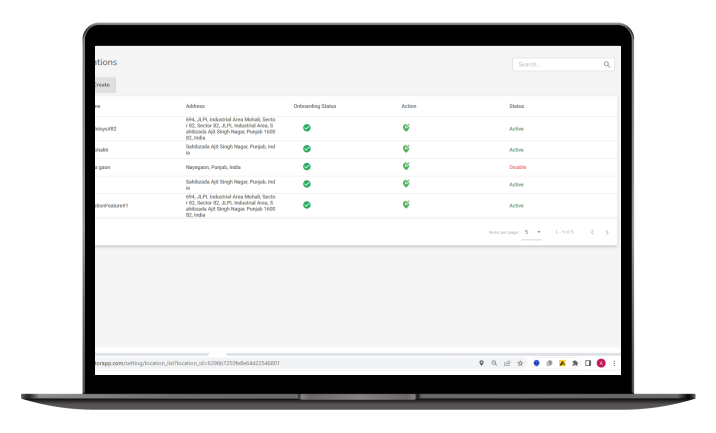
Step 3: Open the Configuration Tab
Click on the configuration tab from the left panel.
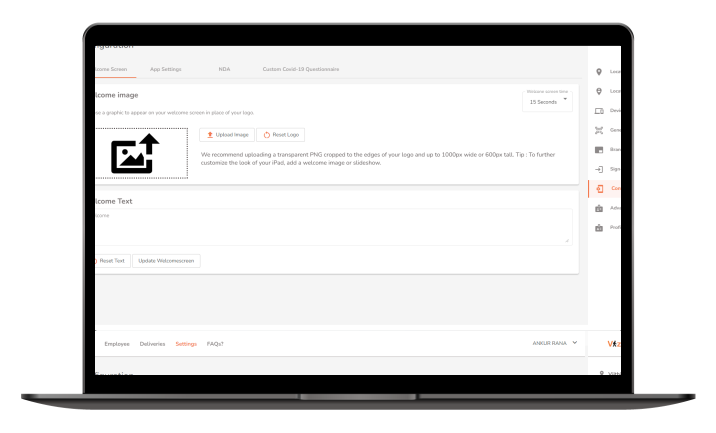
Step 4: Open App Settings
Click on the App setting tab from Left.
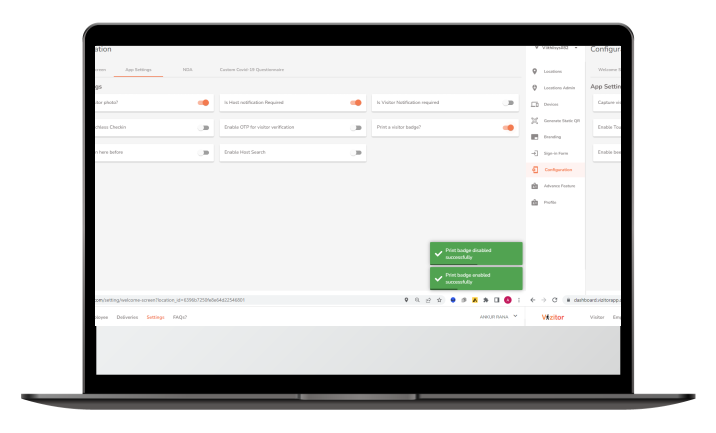
Step 5: Toggle Photo Capture
You can enable or disable the capture visitor photo option by toggling the button to required.
Frequently Asked Questions
Log in to your dashboard, open Settings, go to the Configuration tab, click App Settings, and toggle photo capture to required.
Capturing a visitor’s photo adds an extra layer of security to your front desk or reception, helping verify visitor identity.
Yes. Toggle the same photo capture option in App Settings under the Configuration tab to turn it off whenever needed.
It’s under Settings, then Configuration, then App Settings, in your Vizitor dashboard.
Table of Contents