

Tue, Oct 4, 2022
Read in 3 minutes
A front desk or reception is the most crucial and important area for any business. As the saying goes ” First Impression Is The Last Impression”. The first impression of your reception can dramatically change the behaviour of any user, If your reception is hitech and has already adapted a visitor management solution, your guests will be amazed by how much the process is streamlined and Vizitor not only let them check-in with their own mobile devices but also let them check-in by using the web check-in feature.
Step 1: Log In to Your Dashboard
Login to your Vizitor dashboard.
Step 2: Open the Visitor Log Tab
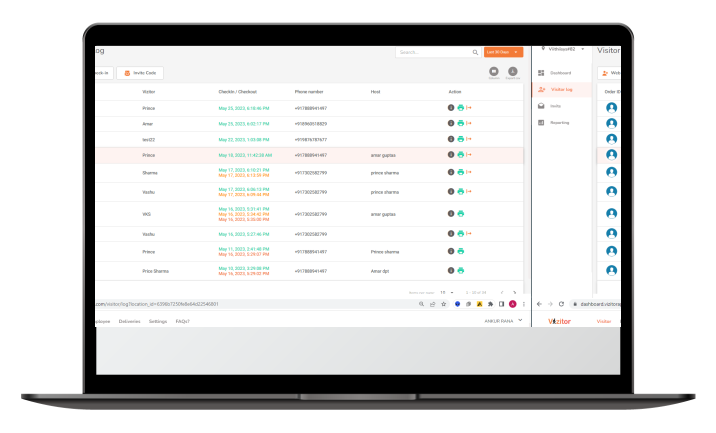
Click on the Visitor Log tab from the left panel.
Step 3: Start Web Check-In
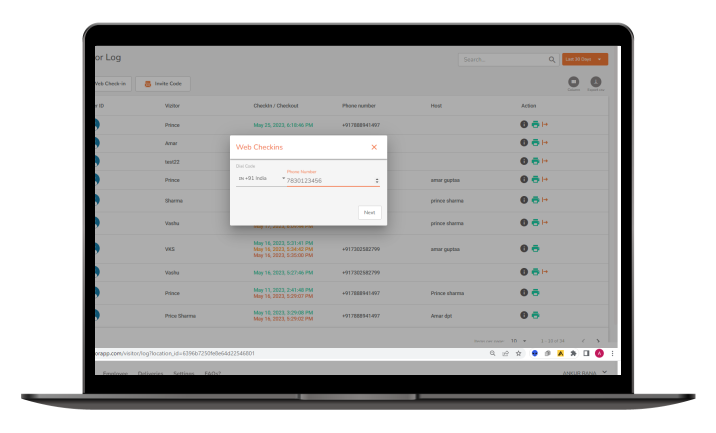
Click on the web check-in tab and provide the mobile number of visitors.
Note: To streamline the visitor check-in process, click on the “Web Check-in” tab within Vizitor. Here, you can easily provide the mobile number of your visitors for a smooth and efficient check-in experience. By entering their mobile numbers, Vizitor can swiftly verify and authenticate their identity, ensuring a secure and seamless visitation process. Simplify visitor check-ins and enhance overall efficiency with Vizitor’s user-friendly web check-in feature.
Step 4: Enter Visitor Details
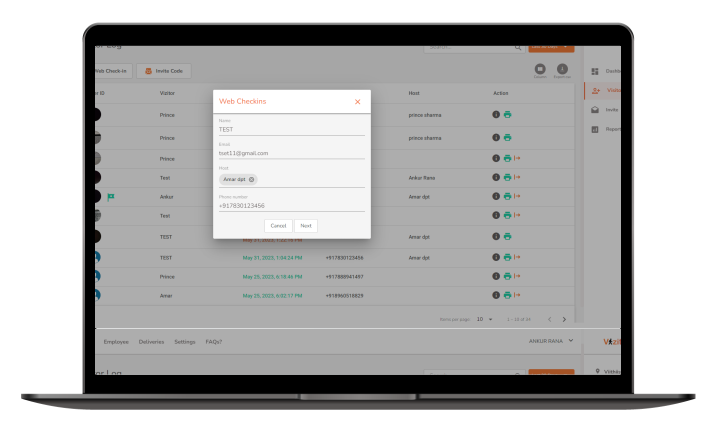
Once you confirm the mobile number, Input the additional details like Name, Mobile Number (It will be prefilled), Email, Purpose of check-in and Host they are here for.
Once you have confirmed the mobile number during the web check-in process in Vizitor, you can proceed to input additional visitor details. This includes their name, mobile number (which may already be prefilled), email address, purpose of check-in, and the specific host they are visiting. Providing these additional details ensures that the check-in process is comprehensive and allows for proper record-keeping. Streamline visitor registration and capture all necessary information with Vizitor’s intuitive interface, promoting a seamless and organised check-in experience.
Step 5: Capture a Photo
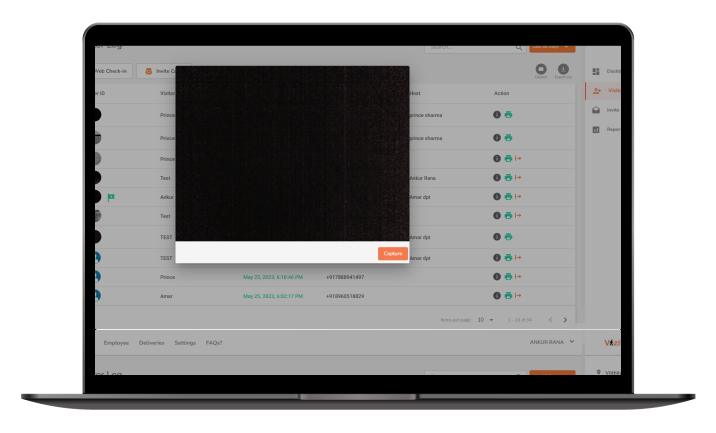
After clicking Next, the camera option will open.
Step 6: Print the Badge
If you have enabled the badge option in Vizitor, upon completing the check-in process, a badge will appear on the screen.
This badge contains important visitor information such as their name, photo, and purpose of visit. If desired, you can conveniently print this badge using a compatible printer. The printed badge serves as a visual identifier, enhancing security and providing a professional touch to the visitor experience. Enable badge printing in Vizitor to effortlessly create and issue visitor badges for a seamless check-in process.
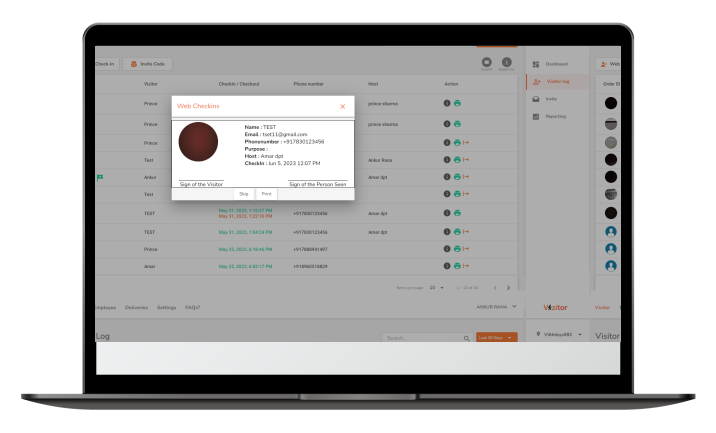
Step 7: Complete Check-In
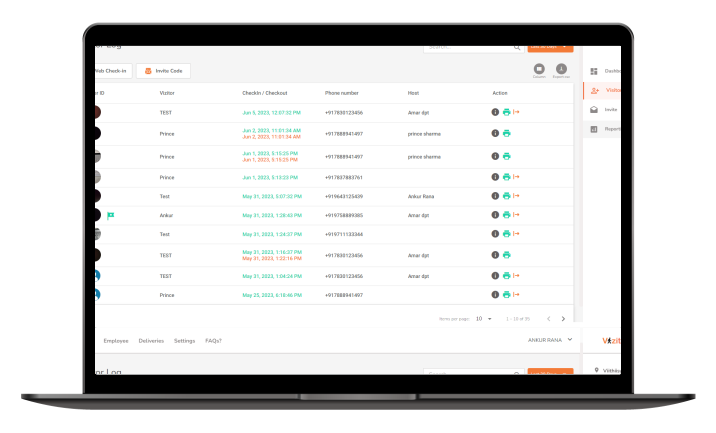
After either skipping or printing the badge, the Vizitor dashboard will appear, indicating that the visitor has been successfully checked-in to the system.
Frequently Asked Questions
Web check-in lets visitors check in using their mobile number instead of a mobile app, started from the Visitor Log tab in your dashboard.
After confirming the mobile number, it collects the visitor's name, mobile number, email, purpose of check-in, and the host they are visiting.
Yes. After entering details, the camera option opens to capture a photo, and if badge printing is enabled, a visitor badge appears that you can print.
Log in to your dashboard, open the Visitor Log tab, click the web check-in tab, and enter the visitor's mobile number to begin.