What Is a Visitor Check-In Kiosk? Features and Full Setup
A visitor check-in kiosk is a self-service tablet at reception that lets guests sign in themselves in under a minute. With Vizitor, it runs on any iPad or Android tablet and handles QR touchless check-in, photo and ID capture, automatic badge printing, watchlist screening, NDA signing, and instant host alerts via Slack, Teams, SMS, or email, with encrypted, exportable logs. Setup takes an afternoon and needs no specialist hardware


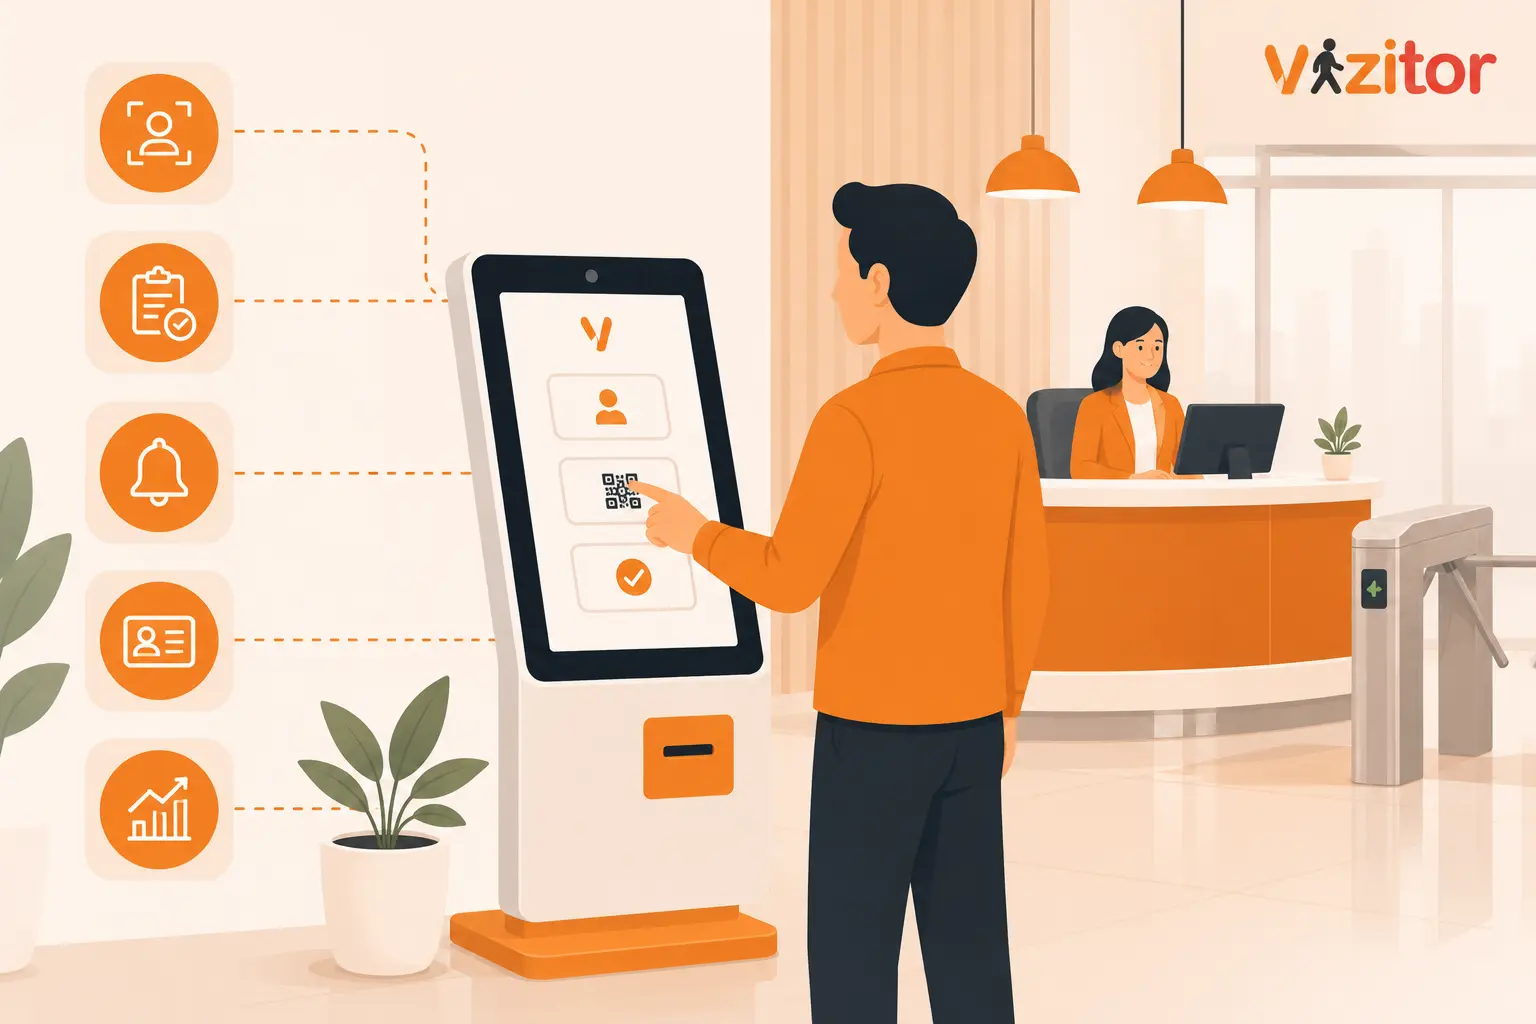
Table of Content
Try Vizitor for Free!
A visitor check-in kiosk is a self-service tablet at your reception that lets guests sign themselves in when they arrive. Instead of a paper logbook or a receptionist typing out details, the visitor taps the screen or scans a QR code, enters who they are and who they are visiting, has their photo taken, and receives a printed badge. The whole thing takes under a minute. That is the short answer. The rest of this article explains how the kiosk works, the features that matter, the hardware you actually need, and how to set one up from scratch.
What is a visitor check-in kiosk
A visitor check-in kiosk is the physical touchpoint of a visitor management system. The kiosk itself is usually a tablet mounted on a stand or a wall at the entrance. The real work happens in the software running on that tablet, which records every visitor, notifies the host, prints the badge, and stores the visit in a secure log.
It helps to separate two things that often get mixed up. The kiosk is the hardware and the screen the visitor sees. The visitor management system is the software brain behind it that manages data, workflows, and records. You can run a kiosk on hardware you already own, because modern visitor software turns almost any iPad or Android tablet into a working check-in station.
The reason offices move to a kiosk is simple. Paper registers are slow, they expose one visitor’s details to the next person in line, and they give you nothing useful when you need to prove who was on site during an audit or an incident. A kiosk fixes all three problems at once. It speeds up entry, keeps each visitor’s information private, and creates a clean digital record you can search later.
How a visitor check-in kiosk works
The flow is straightforward for the visitor, even though a lot is happening behind the screen.
A visitor arrives at reception and walks up to the tablet. If they were pre-registered, they scan the QR code sent to their phone and their details are already filled in. If they are a walk-in, they tap the screen and enter their name, company, phone number, and the person they are there to meet.
Next, the kiosk captures a photo and can ask the visitor to upload a government issued ID for verification. If your workplace requires it, the visitor signs an NDA or a safety declaration on the same screen.
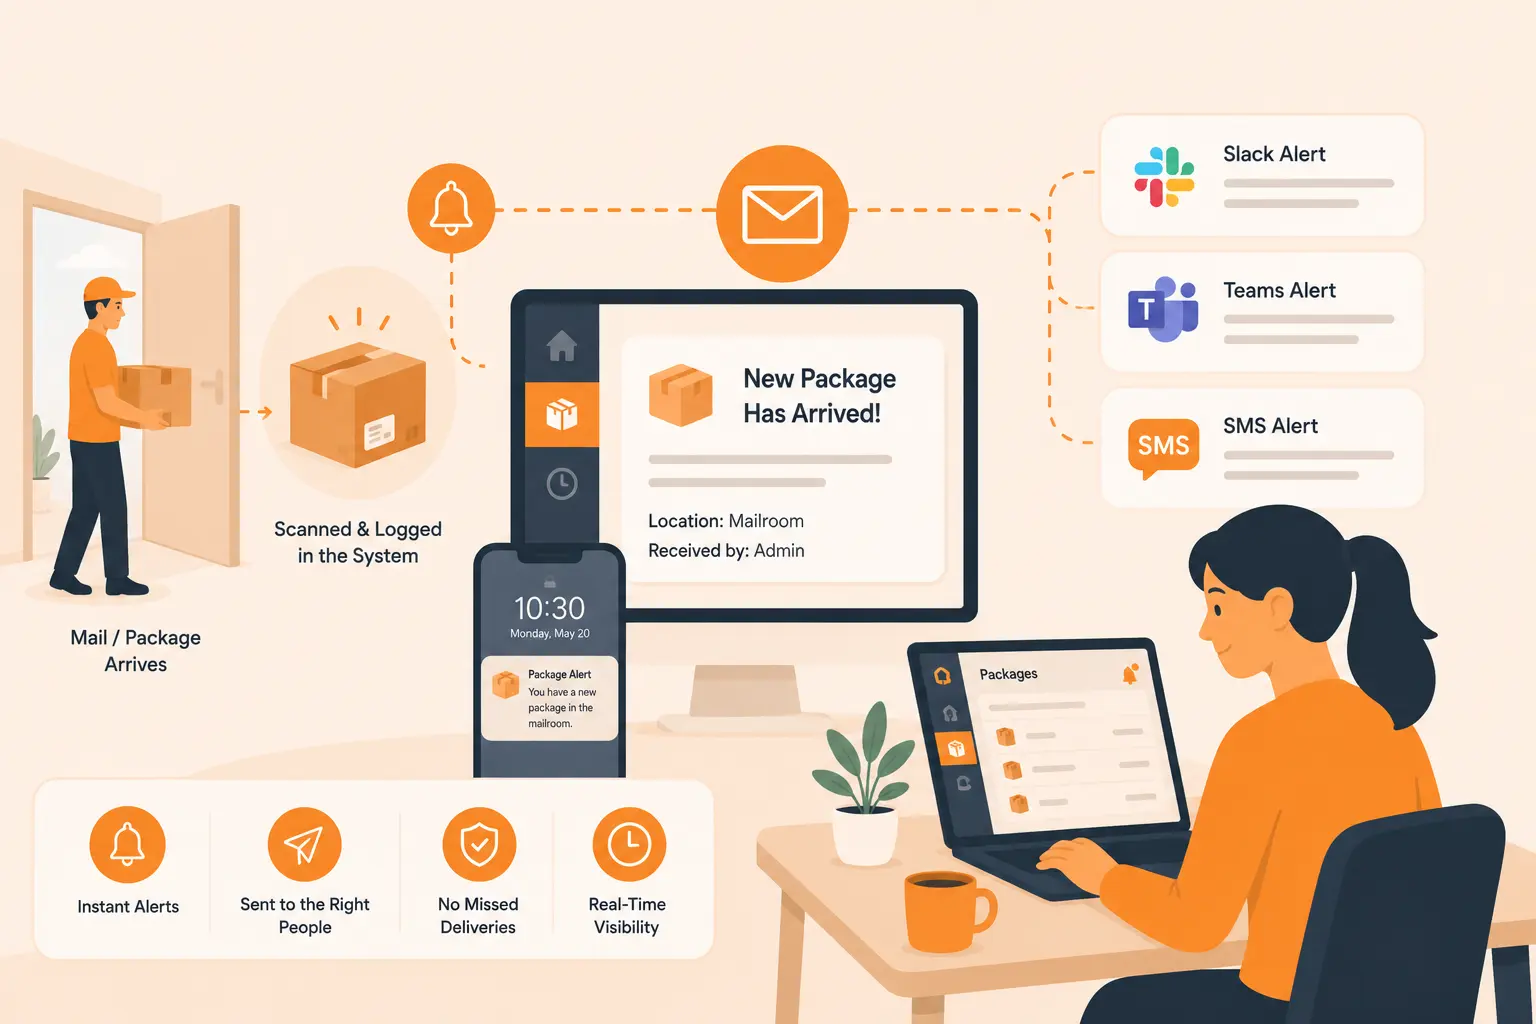
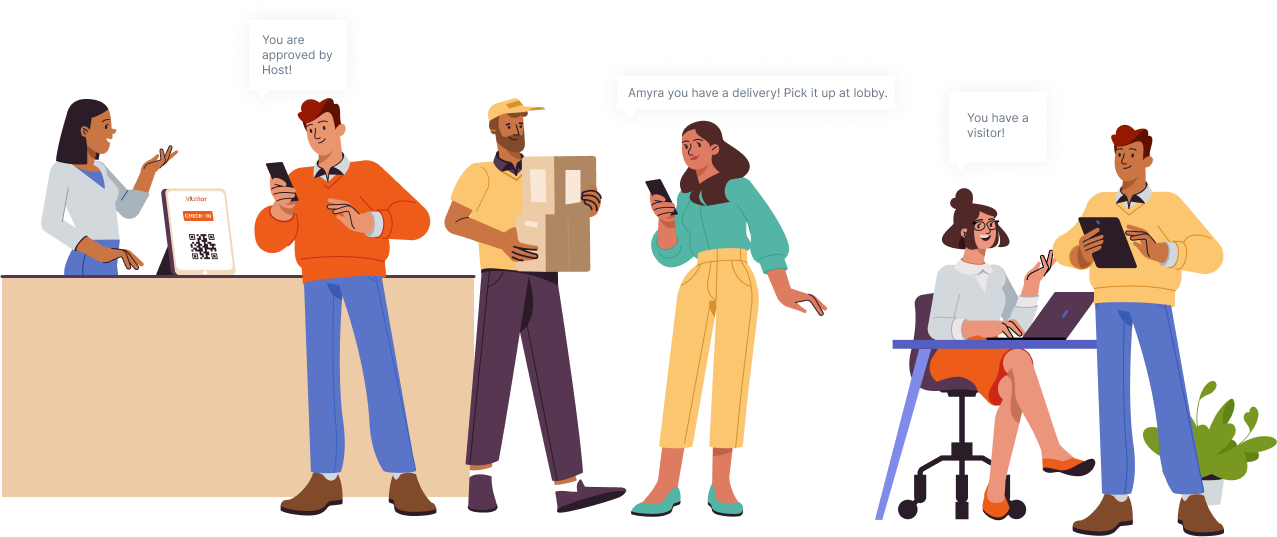
The moment check-in is complete, a connected printer produces a badge with the visitor’s name, company, host name, date, and check-in time, along with your logo and brand colours. At the same time, the host gets an instant notification through Slack, Teams, SMS, or email that includes the visitor’s name and photo. The host can approve, decline, or send a message straight from that notification, so nobody has to hunt down the right person.
Everything is logged automatically with a timestamp and photo. When the visitor leaves, check-out is recorded too, often by scanning the QR code on their badge at the exit. The full visit record sits in an encrypted, searchable dashboard you can export whenever you need it.
Core features of a visitor check-in kiosk
Not every kiosk offers the same capabilities. These are the features that separate a basic sign-in screen from a proper check-in station, and each one below is available in Vizitor.
Self-service check-in in seconds
The point of a kiosk is that visitors do the work themselves. With Vizitor, a walk-in completes the entire flow, form, photo, NDA, and badge, in under a minute, and a pre-registered guest is through in a few seconds. No receptionist has to type anything.
QR code touchless check-in
Visitors can scan a QR code with their own phone and check in without touching the tablet at all. This keeps the process hygienic and fast, and it is especially useful during busy arrival windows when a queue would otherwise build up.
Photo capture and ID verification
The kiosk takes a photo at check-in and can collect a government issued ID. The photo is printed on the badge and stored in the visit log, so staff and security can match the badge to the person wearing it.
Automatic badge printing
As soon as check-in finishes, a connected printer produces the badge automatically. Badges carry the visitor’s name, company, host, date, and time, plus your logo and colours. They auto-expire after the visit ends so an old badge cannot be reused, and you can reprint any badge from the dashboard with one click.
Instant host notifications
When a visitor checks in, the host is alerted through Slack, Teams, SMS, or email, with the visitor’s name and photo attached. This removes the awkward lobby wait and the phone tag that comes with manual reception.
NDA and document signing
If your visitors need to sign an NDA, a safety waiver, or a health declaration, they do it on the kiosk screen during check-in. With pre-registration, the document can be signed before the visitor even arrives.
Watchlist screening
You can configure a list of banned or flagged individuals. At every sign-in, the system checks the visitor’s details against that list in the background. If there is a match, security is alerted before access is granted. Unsigned NDAs, flagged names, and unverified IDs all surface before anyone gets through the door.
Pre-registration
Hosts send a QR invite before the visit. The visitor arrives with their details already filled in and their NDA already signed, then scans the code at the kiosk for near instant entry. Reception can see the expected visitor list and arrival times in advance.
Facial recognition for repeat visitors
For frequent guests and high security areas, facial recognition speeds up entry and adds a stronger layer of verification than a badge alone, since a lost or shared badge cannot be used by someone else.
Multi-location control
If you run more than one office, you manage every site from a single login. Each location keeps its own branding, NDA, and check-in flow, while you get complete visibility across all of them from one dashboard.
Analytics and exportable logs
Every check-in is recorded with a timestamp, photo, host name, and visit details. The log is searchable by name, date, host, or department, and exportable for compliance audits. Data is encrypted, backed up, and stored in the cloud.
Hardware you need and what it costs
One of the best things about a modern check-in kiosk is that you do not need specialist equipment. Here is the full list of what a complete station involves.
A tablet is the core of the kiosk. Vizitor runs on any iPad or on any Android tablet running Android 8.0 or newer. The Vizitor Kiosk app is available on the Apple App Store and on Google Play, and the features are identical on both platforms, so the device is entirely your choice.
A stand or enclosure holds the tablet at a comfortable height and protects it from tampering. Countertop, floor standing, and wall mounted options all work depending on how much space your reception has.
A badge printer is optional but recommended if you want physical visitor badges. It connects to the tablet and prints automatically the moment check-in completes.
A stable Wi-Fi connection lets the tablet sync visitor data to the cloud, send host notifications, and store records securely.
On cost, the device is usually the biggest variable. Android tablets suitable for a check-in kiosk are widely available from around ₹8,000 to ₹20,000 in India, while iPads generally start at ₹35,000 and up. Because Vizitor’s software works the same on both, many multi-location rollouts choose Android tablets to keep the upfront hardware spend low, then add a stand and a badge printer per site. The software itself is a subscription, and you can trial the full feature set before committing.
How to set up a visitor check-in kiosk step by step
Setting up a kiosk is far simpler than most people expect. With Vizitor you can be live the same day, with no IT team and no training days. Here is the practical sequence.
- Choose your device. Pick an iPad or an Android tablet running Android 8.0 or newer. If you are deploying across several sites, standardise on one device type to keep things consistent.
- Download the Vizitor Kiosk app. Get it from the Apple App Store or Google Play and install it on the tablet you plan to mount at reception.
- Pair the device with your account. Log in and pair the tablet to your Vizitor dashboard so the kiosk and your central records are connected.
- Customise your check-in form. Decide what to ask each visitor, such as name, company, host, and purpose of visit. You can create different question paths for different visitor types like guests, contractors, and interview candidates.
- Add your branding. Upload your logo and set your brand colours so the welcome screen and printed badges reflect your workplace.
- Enable photo capture and badge printing. Turn on photo capture for the check-in flow, then connect your badge printer and confirm the badge layout, including which fields appear on it.
- Set up NDAs and watchlist rules. If visitors need to sign documents, add them to the flow. Configure your list of flagged or banned individuals so screening runs automatically at every sign-in.
- Turn on pre-registration and host notifications. Let hosts send QR invites in advance, and choose how hosts are alerted on arrival, whether that is Slack, Teams, SMS, or email.
- Mount the tablet and go live. Place the tablet on its stand or wall mount at the entrance, run a test check-in, and your kiosk is ready for real visitors.
Where visitor check-in kiosks are used
A check-in kiosk fits almost any place that receives outside visitors, but the priorities shift by setting.
Corporate offices
Offices use kiosks to remove lobby queues, notify hosts instantly, and present a professional first impression. The privacy of a self-service screen also matters, since a visitor never sees who signed in before them.
Manufacturing and industrial sites
Plants deal with contractors and third parties who need inductions, safety declarations, and controlled access. A kiosk handles document signing and screening at the gate, which reduces congestion during shift changes and keeps a clear record of every non-employee on site.
Healthcare facilities
Hospitals and clinics need fast, contactless entry and reliable records for compliance. Touchless QR check-in and encrypted logs support both patient experience and audit readiness.
Schools and campuses
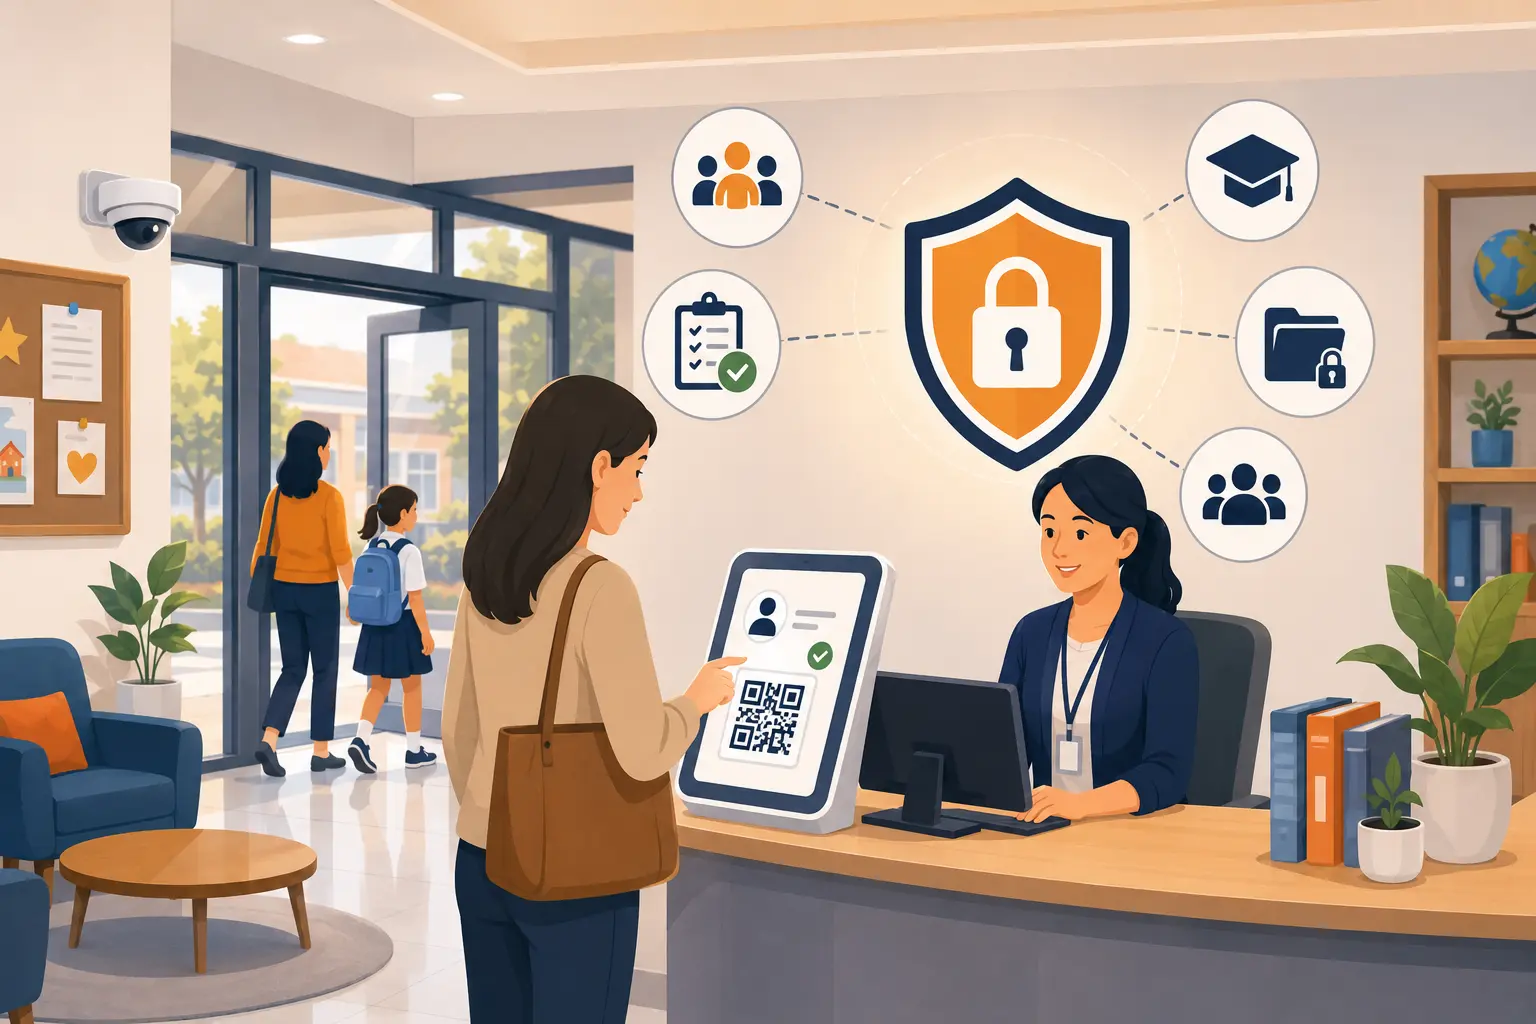
Schools use kiosks to make sure every visitor is identified, screened against a watchlist, and badged before they move through the building, which strengthens safeguarding without slowing the front desk.
Coworking spaces and multi-tenant buildings
Shared workspaces manage a high, unpredictable flow of guests. A kiosk lets members’ visitors self-register, print a badge, and get routed to the right host without tying up staff.
What to look for before you choose one
If you are comparing options, these are the practical checkpoints that decide whether a kiosk will actually work for you.
Device flexibility matters first. A system that runs on both iPad and Android, on hardware you already own, saves you from buying locked down equipment.
Look for touchless check-in through QR codes, since it keeps the flow fast and hygienic. Confirm that badge printing is automatic and that badges can carry your branding and expire after the visit.
Check that host notifications reach people where they already work, through Slack, Teams, SMS, or email, not just a single channel. Make sure the system screens visitors against a watchlist and supports NDA signing if your workplace needs it.
For anything regulated, confirm the logs are encrypted, searchable, and exportable for audits, and that data retention can be configured to match your policy. If you operate more than one location, verify you can manage every site from one dashboard while keeping site specific settings.
Common setup mistakes to avoid
A few avoidable errors trip up first time deployments.
Placing the kiosk in a cramped spot creates a bottleneck. Give it enough room so a visitor can stand, tap, and take a photo comfortably.
Skipping pre-registration wastes the biggest speed gain a kiosk offers. Encourage hosts to send QR invites so guests arrive with details already filled in.
Overloading the check-in form with too many questions slows everyone down. Ask only what you need, and use different forms for different visitor types.
Forgetting to test the badge printer and Wi-Fi before going live leads to a bad first day. Run a full test check-in, including a printed badge and a host notification, before real visitors arrive.
Bottom line
A visitor check-in kiosk turns your front desk from a slow, paper based bottleneck into a fast, secure, self-service experience. Visitors sign in on their own in under a minute, hosts are notified instantly, badges print automatically, and every visit is stored in a searchable, exportable log. Vizitor runs all of this on any iPad or Android tablet you already own, with no specialist hardware and no IT project to get started.
If you want to see it working at your own reception, start a 14-day free trial of Vizitor and set up your first kiosk today, or book a demo to walk through the features with the team.
Frequently Asked Questions
It is a self-service tablet at reception that lets visitors sign themselves in, capture a photo, sign any required documents, print a badge, and notify their host automatically, replacing paper logbooks.
No. Vizitor runs on any iPad or on any Android tablet running Android 8.0 or newer, with identical features on both, so you can use hardware you already own.
No, but it is recommended. If you want physical visitor badges, connect a printer and Vizitor prints automatically the moment check-in completes. You can also run a badge free check-in if you prefer.
Yes. Visitors can scan a QR code with their own phone for a fully touchless check-in, which is faster and more hygienic during busy periods.
The host receives an instant alert through Slack, Teams, SMS, or email, including the visitor's name and photo, and can approve, decline, or message directly from the notification.
Yes. Every check-in is logged with a timestamp and photo, stored encrypted in the cloud, searchable by name, date, or host, and exportable for compliance audits.
See Vizitor in action check-in a visitor in under 30 seconds
Trusted by 500+ businesses. QR check-in, badge printing, NDA signing. Plans from $36/mo.