Queue Management Hardware Guide: Kiosks, Displays, Printers, and More


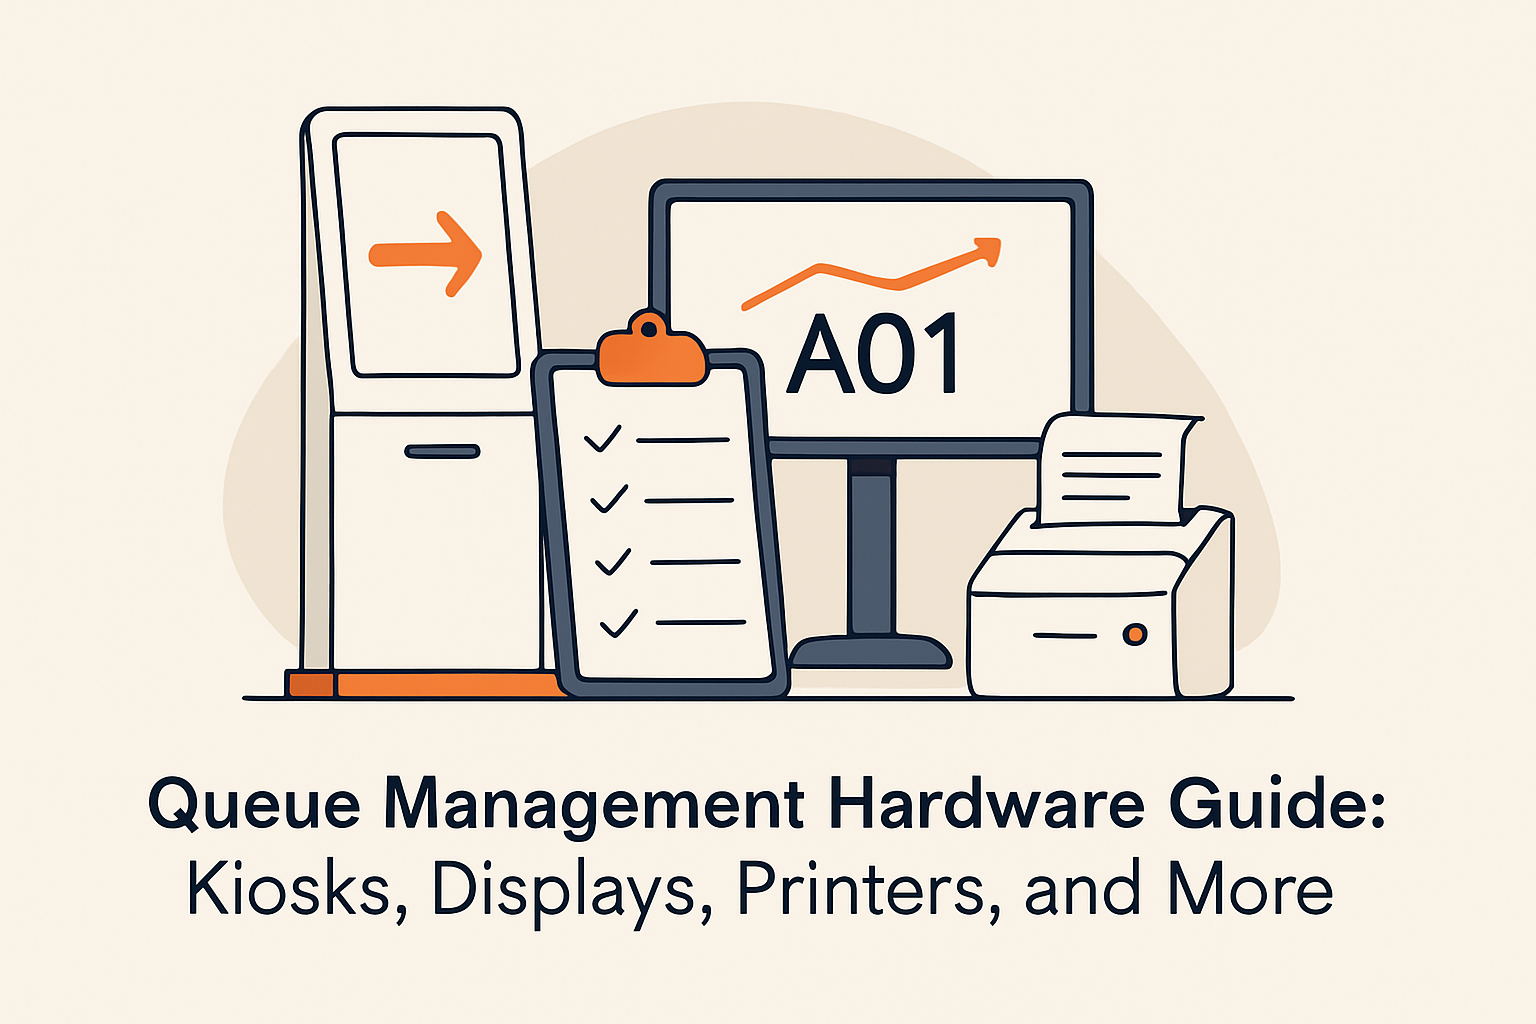
Table of Content
Try Vizitor for Free!
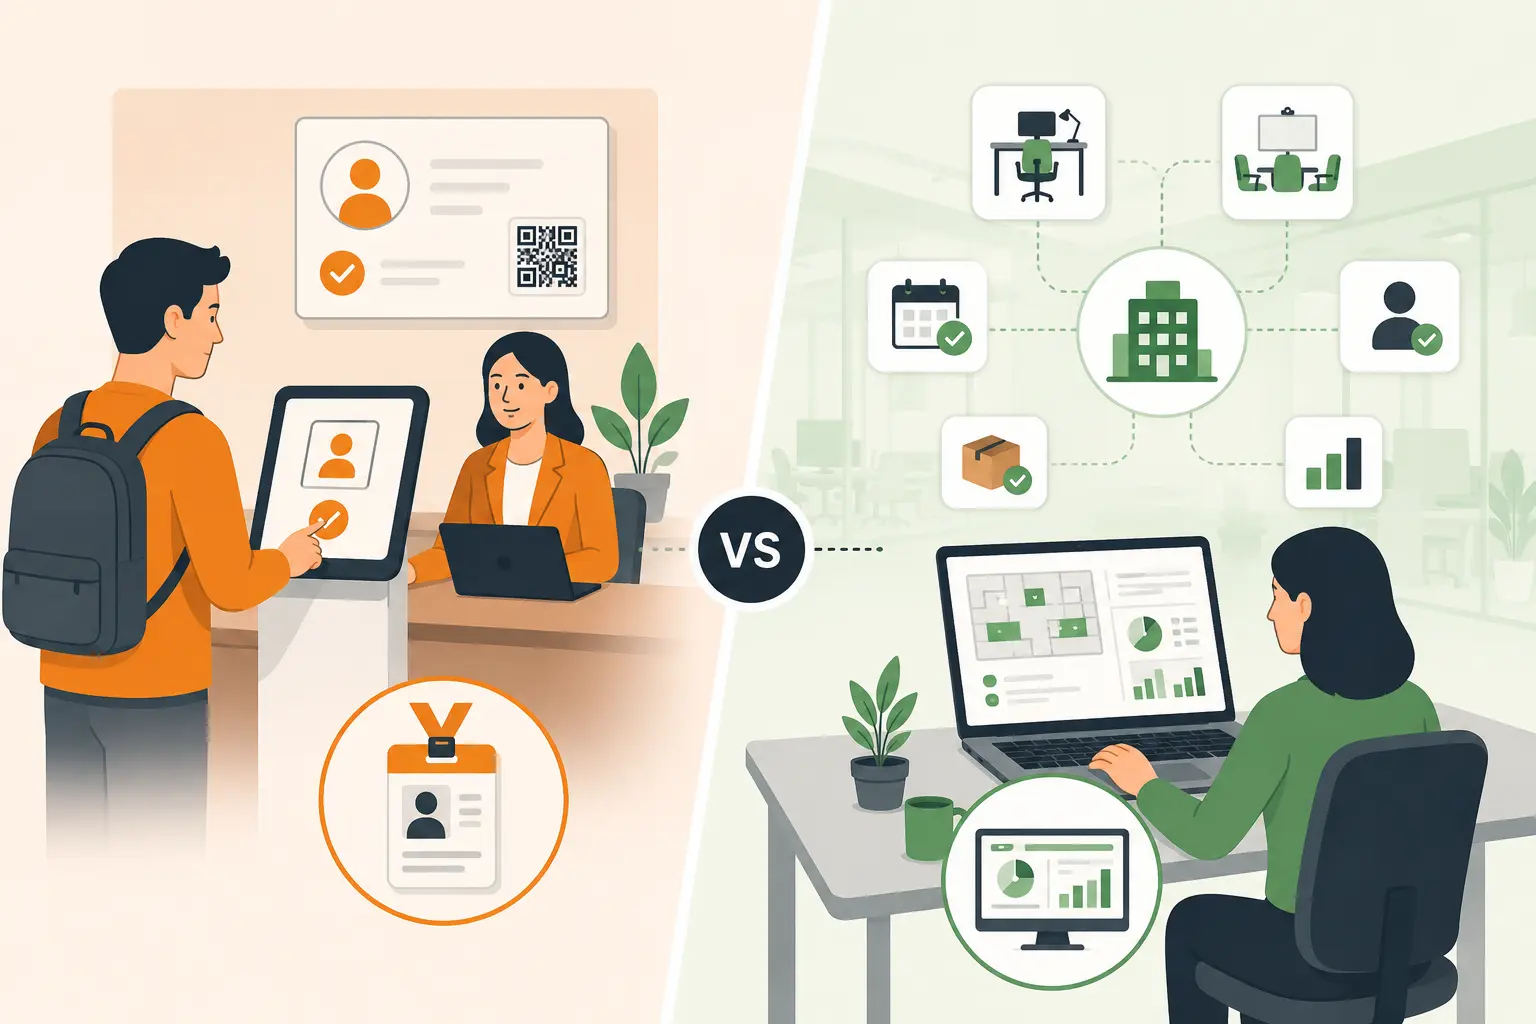
A queue management system is software at its core, but it operates in the physical world. Customers walk into your location, interact with devices, see screens, and receive physical or digital tokens. The hardware you choose determines how smooth that interaction feels.
The good news: modern queue management does not require a room full of specialized equipment. In many cases, a tablet, a display screen, and a QR code poster are all you need. But for larger deployments or specific use cases, understanding the full range of hardware options helps you make smart investments.
According to a 2023 report by MarketsandMarkets, the global queue management systems market is expected to reach $1.4 billion by 2028, with hardware (kiosks, displays, and ticket dispensers) accounting for approximately 35% of total deployment costs.
This guide covers every hardware component used in queue management systems, from essential to optional, so you can plan your deployment confidently.
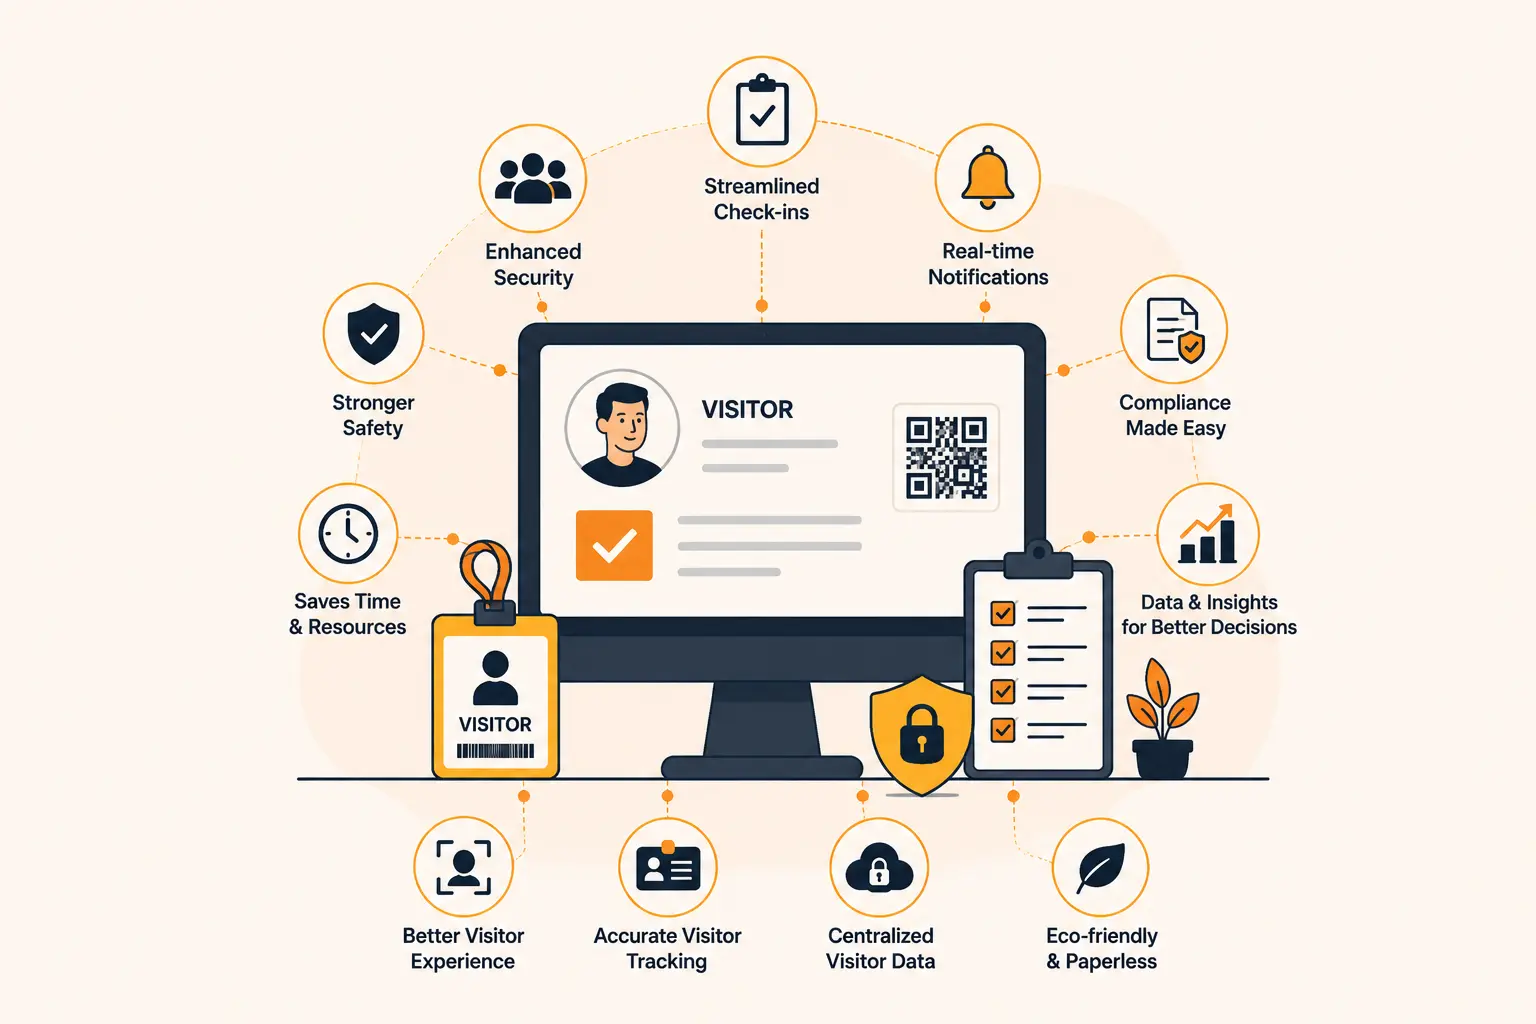
What is queue management hardware? Queue management hardware refers to the physical devices used alongside queue management software to facilitate customer check-in, queue status display, ticket generation, and counter direction. Common components include self-service kiosks, digital display screens, ticket printers, counter displays, sensors, and tablets. The right combination depends on your environment, customer volume, and budget.
Essential vs. Optional Hardware
Before diving into individual components, here is a framework for thinking about what you actually need:
| Component | Essential? | Use Case |
|---|---|---|
| Tablet (for staff or check-in) | Yes | Core check-in device for most deployments |
| QR code signage | Yes | Enables customer self-check-in via phone |
| Digital display screen | Recommended | Shows queue status in waiting area |
| Self-service kiosk | Optional | High-volume locations with diverse visitors |
| Ticket printer | Optional | Environments where physical tickets are expected |
| Counter display (number indicator) | Optional | Service counters to show “now serving” |
| People counting sensor | Optional | Automated queue monitoring without check-in |
| Audio announcement system | Optional | Calling queue numbers via speaker |
| Badge/label printer | Optional | Reception areas needing visitor badges |
The key insight: the most effective modern deployments rely on customers’ own phones as the primary interaction device, reducing hardware requirements significantly.
Component-by-Component Guide
1. Tablets
What they do: Serve as the primary check-in device for staff or customer self-service. They run the queue management software interface and can handle check-in, queue assignment, and status monitoring.
Where to place them: Reception desk (staff-facing), entrance area (customer-facing), or mounted on a stand for self-service.
What to look for:
- Screen size: 10-12 inches for customer-facing, 8-10 inches for staff-facing
- Durable case with theft-prevention mount
- Stable Wi-Fi or cellular connectivity
- Long battery life or permanent power connection
- Touchscreen responsiveness (customers will be tapping frequently)
Recommended for: Every deployment. A tablet is the minimum hardware needed to run a queue management system alongside a cloud-based platform like Vizitor’s queue management system.
2. QR Code Signage
What it does: A printed or displayed QR code that customers scan with their phone to join the queue. No app download required. The code links to a web-based check-in form.
Where to place it: Entrance doors, reception desks, waiting area walls, table tents, window displays.
What to look for:
- Large enough to scan from 3-4 feet away
- Clear instructions (“Scan here to join the queue”)
- Durable material (acrylic stand, laminated poster, or digital screen)
- Multiple placement points for visibility
Recommended for: Every deployment. QR codes are the simplest, cheapest way to enable customer self-check-in and are central to virtual queuing.
3. Digital Display Screens
What they do: Show real-time queue status in the waiting area. Typically display “now serving” numbers, estimated wait times, and counter assignments.
Where to place them: Waiting area walls, reception area, above service counters.
What to look for:
- Size: 32-55 inches for waiting areas, 10-15 inches for counter-top displays
- Brightness suitable for your lighting conditions
- Managed display capability (the queue system pushes content to the screen)
- HDMI or wireless connectivity
- Optional: touchscreen for interactive queue status
Recommended for: Most deployments, especially those with a physical waiting area. They reduce “how much longer?” questions and create a professional appearance.
4. Self-Service Kiosks
What they do: Free-standing or counter-mounted stations where visitors check in, select their service, and receive a queue number. More robust than a simple tablet, with larger screens and optional accessories (printers, card readers).
Where to place them: Building lobbies, hospital entrances, government office entrances, retail stores.
What to look for:
- Touchscreen size: 15-22 inches
- Sturdy, tamper-resistant enclosure
- Accessibility: ADA-compliant height, screen reader support
- Optional add-ons: ticket printer, badge printer, card reader, scanner
- Connectivity: Wi-Fi and/or Ethernet
Recommended for: High-volume locations (hospitals, government offices, large retail) where many visitors check in simultaneously and a tablet alone cannot handle the throughput.
5. Ticket Printers
What they do: Print physical queue tickets with a number, service type, and estimated wait time. Customers take the ticket and wait for their number to be called.
Where to place them: Integrated into kiosks, or standalone near the entrance.
What to look for:
- Thermal printing (no ink needed, lower maintenance)
- Fast print speed (under 2 seconds per ticket)
- Paper roll capacity (larger rolls mean less frequent refilling)
- Connectivity: USB or Wi-Fi to the queue management system
Recommended for: Environments where customers may not have smartphones (government offices serving elderly populations, certain healthcare settings) or where a physical ticket is culturally expected.
Note: Many modern deployments are moving away from physical tickets in favor of SMS notifications and QR code check-in, which eliminate paper costs and waste entirely.
6. Counter Displays
What they do: Small screens (typically 5-10 inches) placed at each service counter showing the number currently being served at that counter.
Where to place them: On or above each service window or desk.
What to look for:
- Clear, large digits visible from the waiting area
- Integration with the queue management system
- Simple design (just a number display, no complex interface)
- Low power consumption
Recommended for: Multi-counter environments (service centers, banks, government offices) where customers need to know which counter to approach.
7. People Counting Sensors
What they do: Automatically count the number of people in a queue or waiting area without requiring check-in. Use infrared, thermal, or camera-based detection.
Where to place them: Above entrances, along queue lines, in waiting areas.
What to look for:
- Accuracy rate (above 95% is standard for modern sensors)
- Privacy compliance (camera-based sensors may have stricter requirements)
- Integration with your queue management software
- Indoor/outdoor rating depending on placement
Recommended for: Large-scale deployments where you need occupancy data in addition to queue data, or environments where not all visitors formally check in.
8. Audio Announcement Systems
What they do: Call queue numbers or names through speakers in the waiting area. “Number 47, please proceed to Counter 3.”
Where to place them: Ceiling or wall-mounted speakers in waiting areas.
What to look for:
- Clear audio quality
- Volume appropriate for the space
- Text-to-speech capability (system generates announcements automatically)
- Multi-language support
Recommended for: Environments where visitors may not be watching screens or checking their phones (e.g., elderly care, some government offices).
Comparison: Hardware Configurations by Environment
| Environment | Minimum Hardware | Recommended Hardware | Full Setup |
|---|---|---|---|
| Small office/reception | Tablet + QR code | Tablet + QR code + display screen | Add badge printer |
| Retail store | QR code signage | Tablet + QR codes + display | Add kiosk, counter displays |
| Clinic | Tablet + QR code | Tablet + display + SMS | Add kiosk, counter displays |
| Restaurant | QR code signage | Tablet + QR code + SMS | Add outdoor display |
| Hospital | Kiosk + display | Multiple kiosks + displays + SMS | Add sensors, audio, ticket printers |
| Government office | Kiosk + ticket printer | Kiosks + displays + counter displays | Add audio, sensors |
| University | QR code + display | Tablets + QR codes + displays per office | Add kiosks at high-volume locations |
Budget Considerations
Entry-Level Deployment ($200-$500)
- One tablet ($200-$400)
- Printed QR code signage ($10-$50)
- Software subscription (varies by provider)
This is enough for a small office, single-counter retail, or a reception desk.
Mid-Range Deployment ($1,000-$3,000)
- One or two tablets ($400-$800)
- QR code signage ($50-$100)
- One digital display screen ($300-$800)
- Optional ticket printer ($200-$500)
Suitable for clinics, small retail, restaurants, and service centers.
Enterprise Deployment ($5,000-$20,000+)
- Multiple self-service kiosks ($1,500-$5,000 each)
- Multiple display screens ($300-$800 each)
- Counter displays ($100-$300 each)
- Ticket printers ($200-$500 each)
- People counting sensors ($500-$2,000 each)
- Audio system ($300-$1,000)
For hospitals, government offices, large retail chains, and multi-department organizations.
Tips for Choosing the Right Hardware
Start Minimal and Scale
Begin with a tablet and QR code. See how customers respond. Add display screens next. Only invest in kiosks and specialized hardware once you have validated the system and understand your specific needs.
Prioritize Customer Phones Over Dedicated Hardware
Every customer carrying a smartphone is carrying a queue interaction device. QR code check-in and SMS notifications use this, reducing your need for expensive kiosks and ticket printers.
Plan for Maintenance
All hardware requires maintenance. Tablets need charging and occasional replacement. Displays need cleaning. Ticket printers need paper refills. Factor ongoing maintenance into your budget and assign responsibility.
Consider Accessibility
Self-service kiosks must be accessible to wheelchair users, visually impaired visitors, and those with limited technical comfort. ADA compliance is not optional. Offer alternative check-in methods (staff-assisted, QR code on phone) for those who cannot use the kiosk.
Match Hardware to Your Environment
A sleek tablet on a modern stand fits a corporate reception. A rugged, weatherproof kiosk suits a government office with high traffic. A simple QR code poster works for a restaurant entrance. Choose hardware that matches the physical context.
Getting Started With Vizitor
Vizitor’s queue management system is designed to work with a wide range of hardware configurations, from a single tablet to a multi-kiosk enterprise deployment. The cloud-based platform means your hardware only needs an internet connection and a browser to operate.
The platform also integrates with Vizitor’s visitor management and workplace management solutions, so your hardware investment serves multiple purposes: queue check-in, visitor registration, and facility access management all from the same devices.
Vizitor’s team can advise on the right hardware configuration for your environment during the onboarding process, ensuring you invest in what you need and nothing more.
Ready to plan your queue management hardware setup?
Book a demo to discuss your requirements, or visit our pricing page to see what is included.
Frequently Asked Questions
Do I need specialized hardware, or can I use standard tablets and screens?
Standard consumer or commercial-grade tablets and screens work perfectly for most deployments. Specialized queue management kiosks are only necessary for very high-volume environments or locations where vandalism or tampering is a concern.
How do I choose between a kiosk and a tablet for customer check-in?
A tablet (on a secure stand) works well for low to moderate traffic. A kiosk is better for high-traffic environments because it is more durable, more visible, and can include accessories like ticket printers. For most small to mid-sized businesses, a tablet is sufficient.
Can queue management work without any hardware at all?
Technically, yes. If all your customers have smartphones, you can operate with just QR code signage and SMS notifications. The customer checks in on their phone and receives all updates there. However, adding at least a display screen in the waiting area significantly improves the experience.
What is the ongoing cost of queue management hardware?
Beyond the initial purchase, costs include: electricity (minimal), internet connectivity (usually already in place), tablet/kiosk replacement (every 3-5 years), ticket printer paper (if applicable), and display screen maintenance. Total annual hardware maintenance costs are typically under $500 for a standard deployment.
How do I prevent theft or damage to queue management hardware?
Use tablet enclosures with security locks, mount kiosks to the floor or counter, and place hardware in areas with staff visibility or security cameras. For outdoor or high-risk environments, invest in ruggedized, tamper-resistant kiosk enclosures.
Try Vizitor Free
No credit card required. Setup in under 5 minutes. Manage visitors, queues, meeting rooms, and more.
Start Free TrialSee Vizitor in action check-in a visitor in under 30 seconds
Trusted by 500+ businesses. QR check-in, badge printing, NDA signing. Plans from $36/mo.